

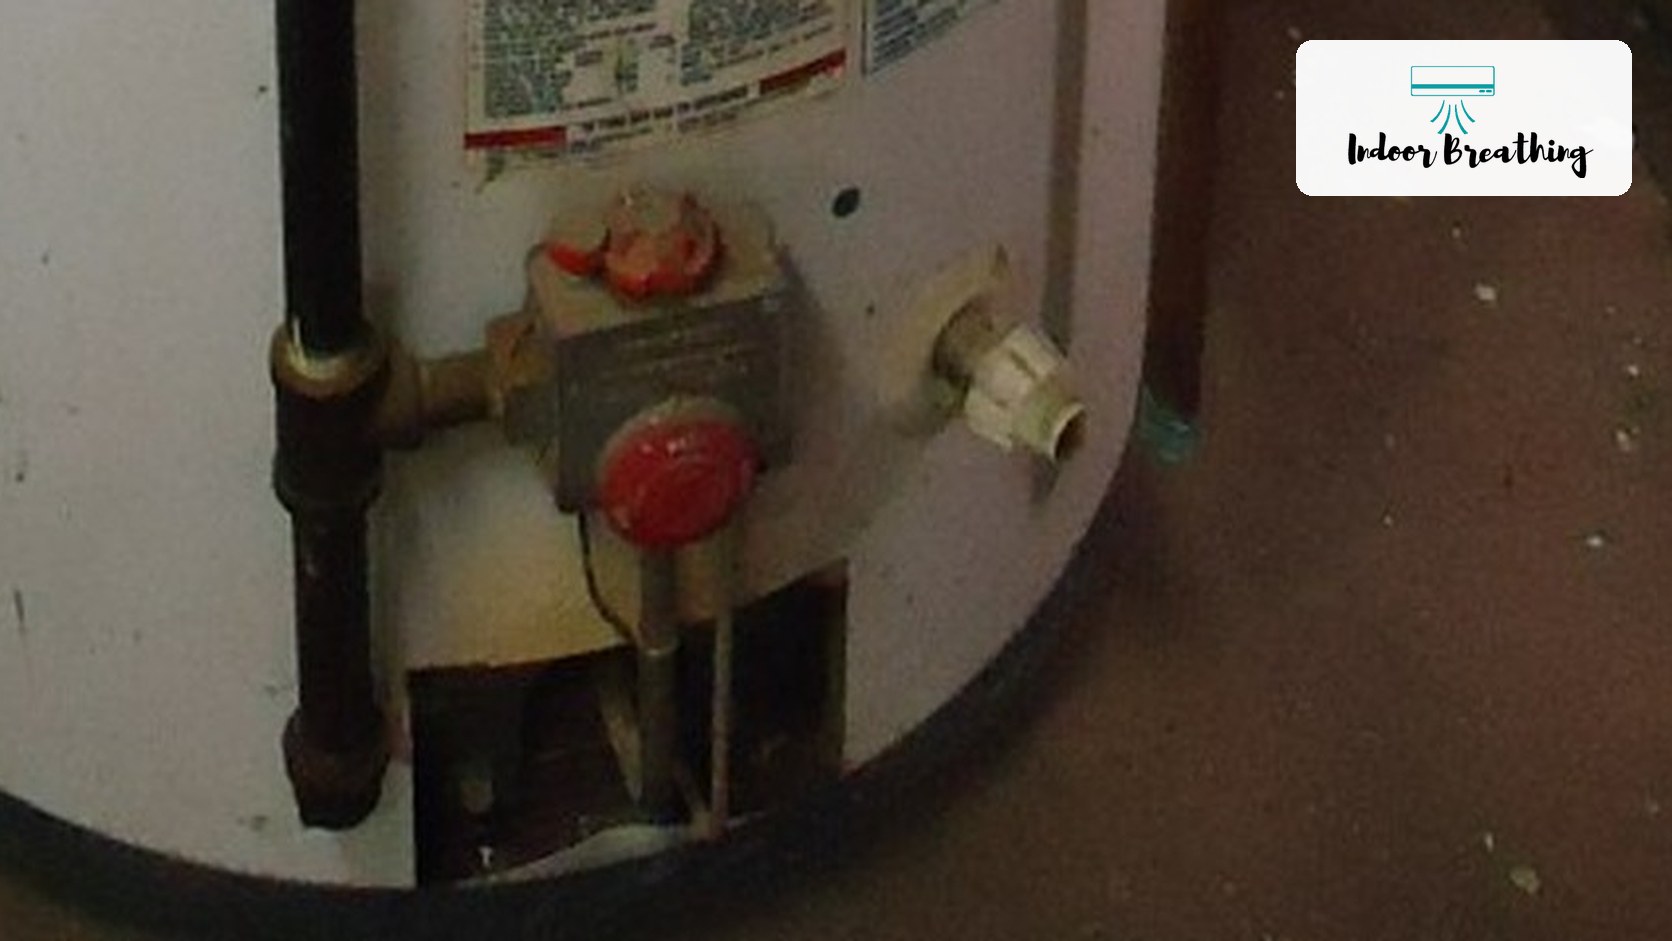
To flush a water heater, shut off its power or gas supply, close the cold water inlet valve, connect a garden hose to the drain valve, and open a hot water tap elsewhere in the house to break the vacuum. Let the tank drain fully, run short bursts of fresh water through it until it drains clear, then close the valve, refill the tank completely, and only restore power once it’s full.
This guide reflects the draining and flushing steps published by A. O. Smith, cross-checked against Rheem’s safety guidance. Always follow your own heater’s manual.
If your water heater sounds like it’s boiling gravel every time it kicks on, or your showers have gotten shorter without you changing your habits, sediment is almost always the reason. Every tank water heater collects mineral sediment from the water flowing through it, and unless it’s flushed out periodically, that sediment builds up, insulates the burner or element from the water, and eats into both your hot water supply and your energy bill. The good news: flushing a tank water heater is one of the few pieces of home maintenance that’s genuinely simple, cheap, and doable with a garden hose and about 45 minutes.
Table of Contents
Signs You Need to Flush Your Water Heater
These are listed roughly in order of how often each one is actually the reason someone searches for this fix:
- Popping, rumbling, or crackling noises from the tank. The single most common trigger — water trapped under a layer of hardened sediment, boiling and forcing its way through. The noise gets louder as the layer thickens.
- Longer wait for hot water, or hot water that runs out faster than it used to. Sediment insulates the heat source from the water above it, so the unit works harder to heat the same amount.
- Rusty, cloudy, or gritty water from the hot tap. Often the most alarming sign, but usually just disturbed sediment rather than tank failure — flushing typically clears it.
- It’s simply been a while. If you can’t remember the last flush, or it’s been over a year, that alone is reason enough.
- Higher energy bills with no other explanation. A sedimented tank runs its burner or element longer to reach the same temperature, which shows up on the bill before it shows up as a symptom.
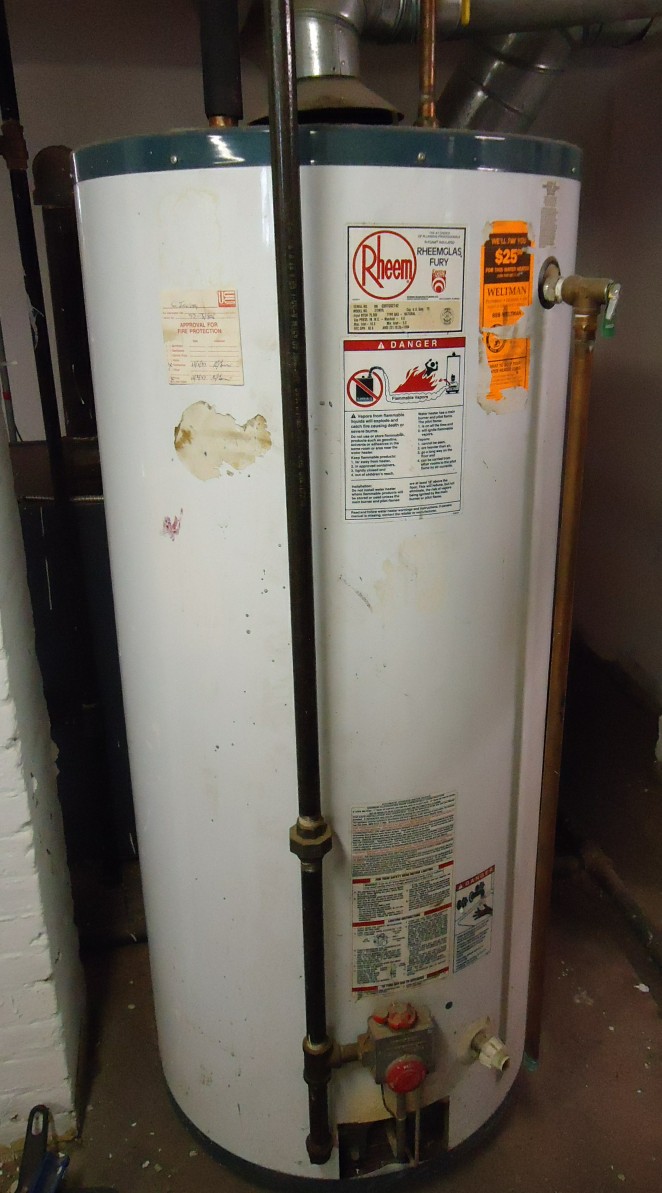
What You’ll Need Before You Start
- A standard garden hose long enough to reach a floor drain, a driveway, or the outdoors
- A bucket, in case there’s no nearby drain to run the hose to
- Work gloves and eye protection — the water coming out has been sitting near the tank’s set temperature and can scald
- A flashlight, if the water heater is in a dim basement or closet
- An adjustable wrench, only if your model’s drain valve needs one to open rather than a hand-turn handle
Looking ahead, efficiency rules are pushing water heaters toward heat pump models, and these need care too, usually a clean air filter and a check on the drain. The catch is that the maintenance routine changes from one type of heater to another.
How to Flush a Water Heater Step by Step
This procedure applies to standard tank-style gas and electric water heaters. It doesn’t apply to tankless units, which don’t hold standing water and use a different descaling process instead. Work through these in order — the sequence matters, not just the individual steps.
Turn Off Power and Water Supply
- On an electric water heater, switch off the dedicated circuit breaker at your electrical panel. On a gas water heater, turn the gas control valve to the “off” or “pilot” position — do not shut off gas at the main line unless you already know how to safely relight the unit afterward.
- Turn off the cold water supply valve on the pipe feeding into the top of the tank, turning it clockwise until it stops. This is what actually stops new water from refilling the tank while you drain it.
- Give the water an hour or so to cool if the tank was recently used heavily — you don’t need it stone cold, but full-temperature tank water can cause a real burn.
Drain the Tank
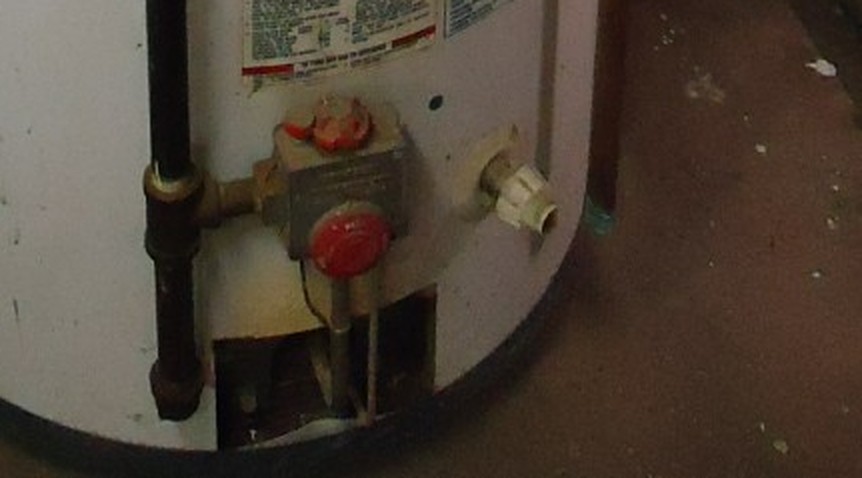
- Attach a garden hose to the drain valve near the bottom of the tank, and run the other end to a floor drain, outdoors, or a bucket you can empty repeatedly.
- Open a hot water faucet somewhere else in the house — a bathroom sink is fine — and leave it open. This breaks the vacuum inside the tank and plumbing so it can actually drain instead of gurgling and airlocking.
- Open the water heater’s drain valve and let the tank empty completely. A full-size 40- to 50-gallon tank typically takes 15 to 30 minutes to drain through a standard garden hose.
Flush Until the Water Runs Clear
- With the drain valve still open and the hose still attached, briefly reopen the cold water supply valve for a few seconds at a time. This pushes a fresh burst of water through the tank and out the drain hose, carrying loose sediment with it.
- Close the cold water valve, let that burst finish draining, then repeat. Do this several times.
- Check what’s coming out of the hose into your bucket or drain each round. Keep repeating the burst-and-drain cycle until the water runs clear with no visible grit, rust flakes, or cloudiness.
Refill the Tank and Restore Power
- Close the drain valve firmly and disconnect the garden hose.
- Open the cold water supply valve fully and let the tank refill. Leave that same hot water faucet elsewhere in the house open while it fills — once it stops sputtering and runs as a steady stream with no air, the tank is full.
- Close that faucet.
- Only now restore power: flip the breaker back on for an electric unit, or turn the gas control back to “on” and relight the pilot per the sticker on your unit’s own panel for a gas model. This order matters more on electric units specifically — turning power back on before the tank is full can burn out the heating element, since it’s designed to be submerged whenever it’s energized.
When to Call a Professional Instead
Flushing itself is a safe DIY task on a healthy water heater, but a few situations mean it’s time to stop and call a licensed plumber or technician rather than push through:
- The drain valve won’t fully close again, or it’s dripping after you’re done. A common failure point on the cheap plastic drain valves used on many builder-grade tanks — sediment can lodge in the valve seat and keep it from sealing. A slow drip on a finished floor is a real water-damage risk, not a wait-and-see issue.
- Your water heater is more than 8–10 years old and hasn’t been flushed regularly. A heavy sediment layer can sometimes be the only thing plugging a small corrosion hole in the tank’s lining — flushing it out can reveal a leak that was there all along. If this is an old unit’s first flush in years, be prepared for the possibility it needs replacing rather than repeating this maintenance.
- You smell gas at any point, on a gas unit. Stop immediately, don’t relight anything, ventilate the area, and call your gas utility or a licensed technician. This is never a DIY situation.
- Any work beyond the water heater’s own shutoff valves. Turning the existing gas or electrical shutoff off and back on is fine. Disconnecting or repairing a gas line, or working inside an electric unit’s junction box, requires a licensed plumber or electrician — this is genuinely hazardous work, not an extension of the flushing procedure.
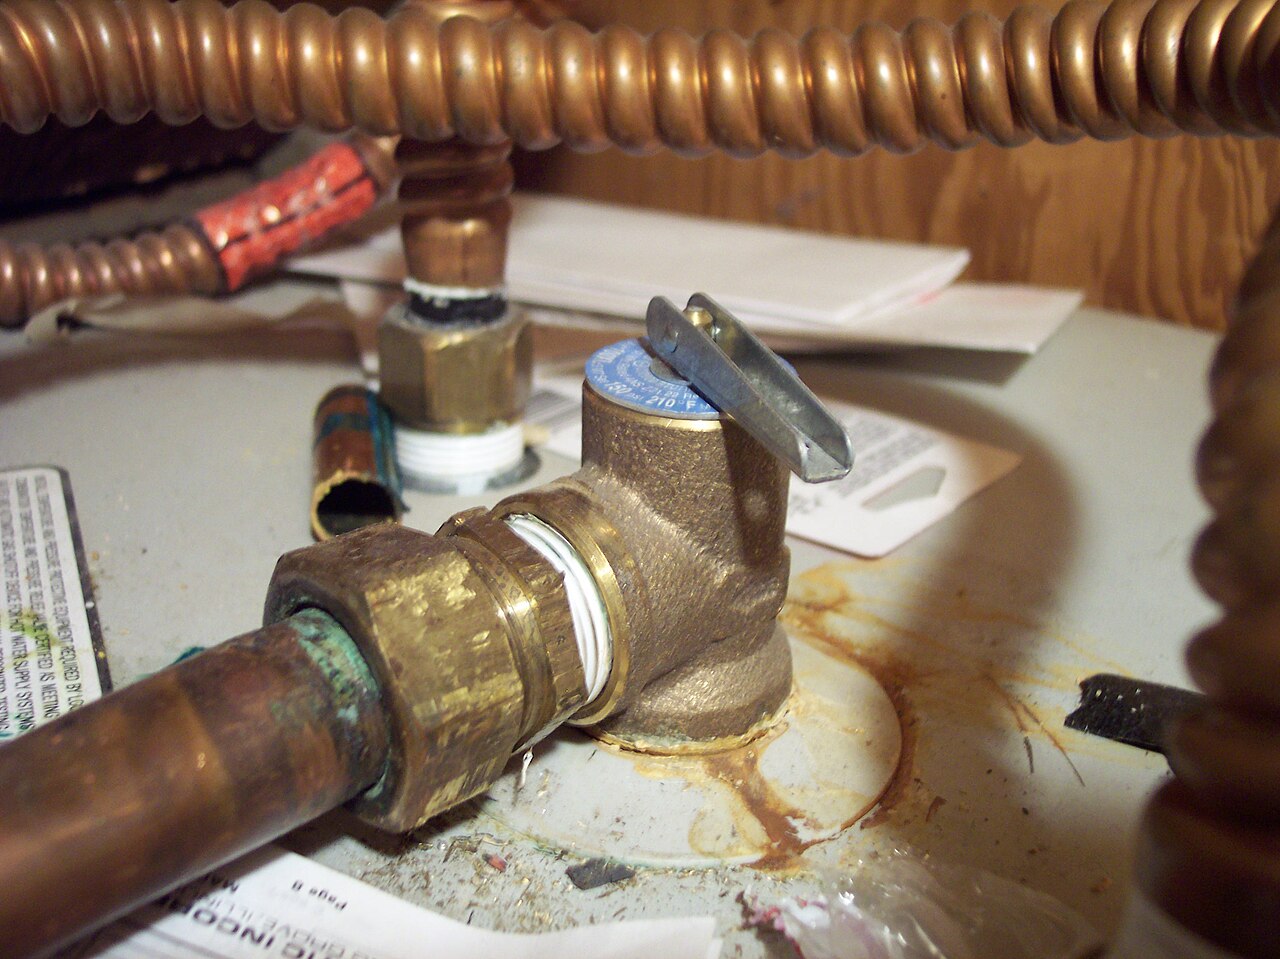
- The temperature and pressure (T&P) relief valve won’t reseat, or it’s leaking on its own. This valve exists to prevent the tank from over-pressurizing. A valve that won’t seal correctly is a safety component failing, not routine maintenance — have it inspected or replaced by a professional.
The risk to watch is flushing a very old tank. Years of sediment can be sealing small leaks, and a hard flush may open them. If the tank is more than ten years old, or the drain valve is stuck, call a plumber instead of forcing it.
Preventing Sediment Buildup Between Flushes
How fast sediment builds back up depends almost entirely on your water hardness. On a municipal supply with naturally soft water, an annual flush is usually plenty. On well water or in a hard-water area, sediment can rebuild fast enough that a once-a-year flush barely keeps up — some manufacturers recommend every six months in those conditions.
The real fix for a household that keeps fighting heavy sediment isn’t flushing more often — it’s addressing the hardness itself. A water softener strips out the calcium and magnesium ions before they reach the water heater, which is the actual source of the sediment; our guide to the best water softeners covers how to size and pick one for a whole house. Not sure whether hardness is really your problem? Our breakdown of water conditioning versus water softening explains the difference. And if grit or rust is the bigger issue rather than hardness — common on well water — a whole-house filter ahead of the water heater catches that before it settles in the tank; see our best whole-house water filters for hard water for real options.
Related Guides
Keep going with water heaters for homeowners, salt-free water softeners, whole-house water filters and how to size a water softener.
What happens next: hard water and higher energy costs make a yearly flush more worth the effort. Put it on the calendar, pair it with a pressure relief valve test, and keep notes so you can see how much sediment comes out each year.
Frequently Asked Questions
How often should you flush your water heater?
Most manufacturers recommend flushing a tank water heater at least once a year. A.O. Smith’s own guidance goes further for its units, suggesting every six months to remove sediment that builds up during normal operation. If you have hard water or notice popping/rumbling sooner than a year out, flush on that schedule instead of waiting for the calendar.
Can you flush your water heater myself, or do you need a plumber?
On a standard residential gas or electric tank water heater in normal working condition, this is a safe, common DIY task — you’re only operating the unit’s own built-in shutoff and drain valves, not gas lines or wiring. Call a professional instead if the drain valve won’t close, you smell gas, or the tank is old and starts leaking after the flush.
Why is your water heater making popping or rumbling noises?
That sound is water boiling underneath a layer of hardened sediment at the bottom of the tank and forcing steam bubbles up through it. It’s the most common and most reliable sign that a flush is overdue, and the noise typically stops once the sediment is cleared out.
Is it normal for the water to look rusty or dirty right after flushing?
Yes — that’s the point of the process. Sediment that’s been sitting undisturbed at the bottom of the tank, sometimes for years, gets stirred up and pushed out through the drain hose. It should run progressively clearer with each burst of water; if it never clears up after many rounds, that can point to a deeper corrosion issue worth having a plumber look at.
Can flushing an old water heater cause it to start leaking?
It’s possible, and it’s a fair concern with a tank that’s 10+ years old or hasn’t been flushed in a long time. Sediment can occasionally plug a small existing corrosion point in the tank’s lining, and clearing it out can reveal that leak rather than cause a new one. This isn’t a reason to skip maintenance on a newer unit, but on an old tank that’s never been flushed, go in expecting that replacement — not repair — may be the actual next step if it does start leaking afterward.